Starting With Jekyll
This website has been online for quite some time as a WordPress blog. I know WordPress very well but never really put much time into maintaining a website of my own. I decided that I wanted to update the site to a different platform and make it as minimalistic as possible so I decided to give Jekyll a try.
About WordPress
I have worked for a long time with WordPress, which I find to be a great platform for publishing websites of any kind in a quick manner without major infrastructure. It is simple to install and manage and you can get your blog running fairly quickly. In fact, many hosting providers nowadays let you install a WordPress site along their hosting packages with a simple click. Additionally there is also a wide array of plugins which you can easily install for free in order to customize your site to your liking.
Moving to a static site
Since most of the content which I have loaded on this site is fairly static and no user interaction is required other than navigating the site, I decided to have a look a static sites. Additionally, I had read about markdown, which is a simple way to write content in plain text files which once displayed will be formatted nicely and I found it a very elegant format as opposed to writing in HTML. It reminds me of LaTeX, where you write with a certain markup and produces amazing PDFs when compiled and is extensively used for journal publishing.
The main advantage about static websites is that they do not require a database and can be faster to access since all the HTML files are generated when updating content and compiling the site. Moreover, a great plus is the fact that you can rely on GitHub to host your site with GitHub Pages in which case you don’t even need to use a hosting provider. This is free as long as your site is open-source and it natively supports Jekyll but you will need to be familiar with GIT in order to use it. Additionally, it gives you some backend capabilities which can serve as a way of publishing posts while on the go or on some other computer instead of having to compile every time and upload your changed files to some hosting server since Github will take care of the compilation.
Installing Jekyll on Mac
First Steps
Jekyll is a Ruby Gem so you will need to have Ruby installed on your machine and then install Jekyll. On the example commands below we will be creating the site on your desktop, it can be moved later to a different directory. Open a terminal window and type the following:
cd ~/Desktop/
gem install bundler jekyll
jekyll new testsite
cd testsite
bundle exe jekyll serve
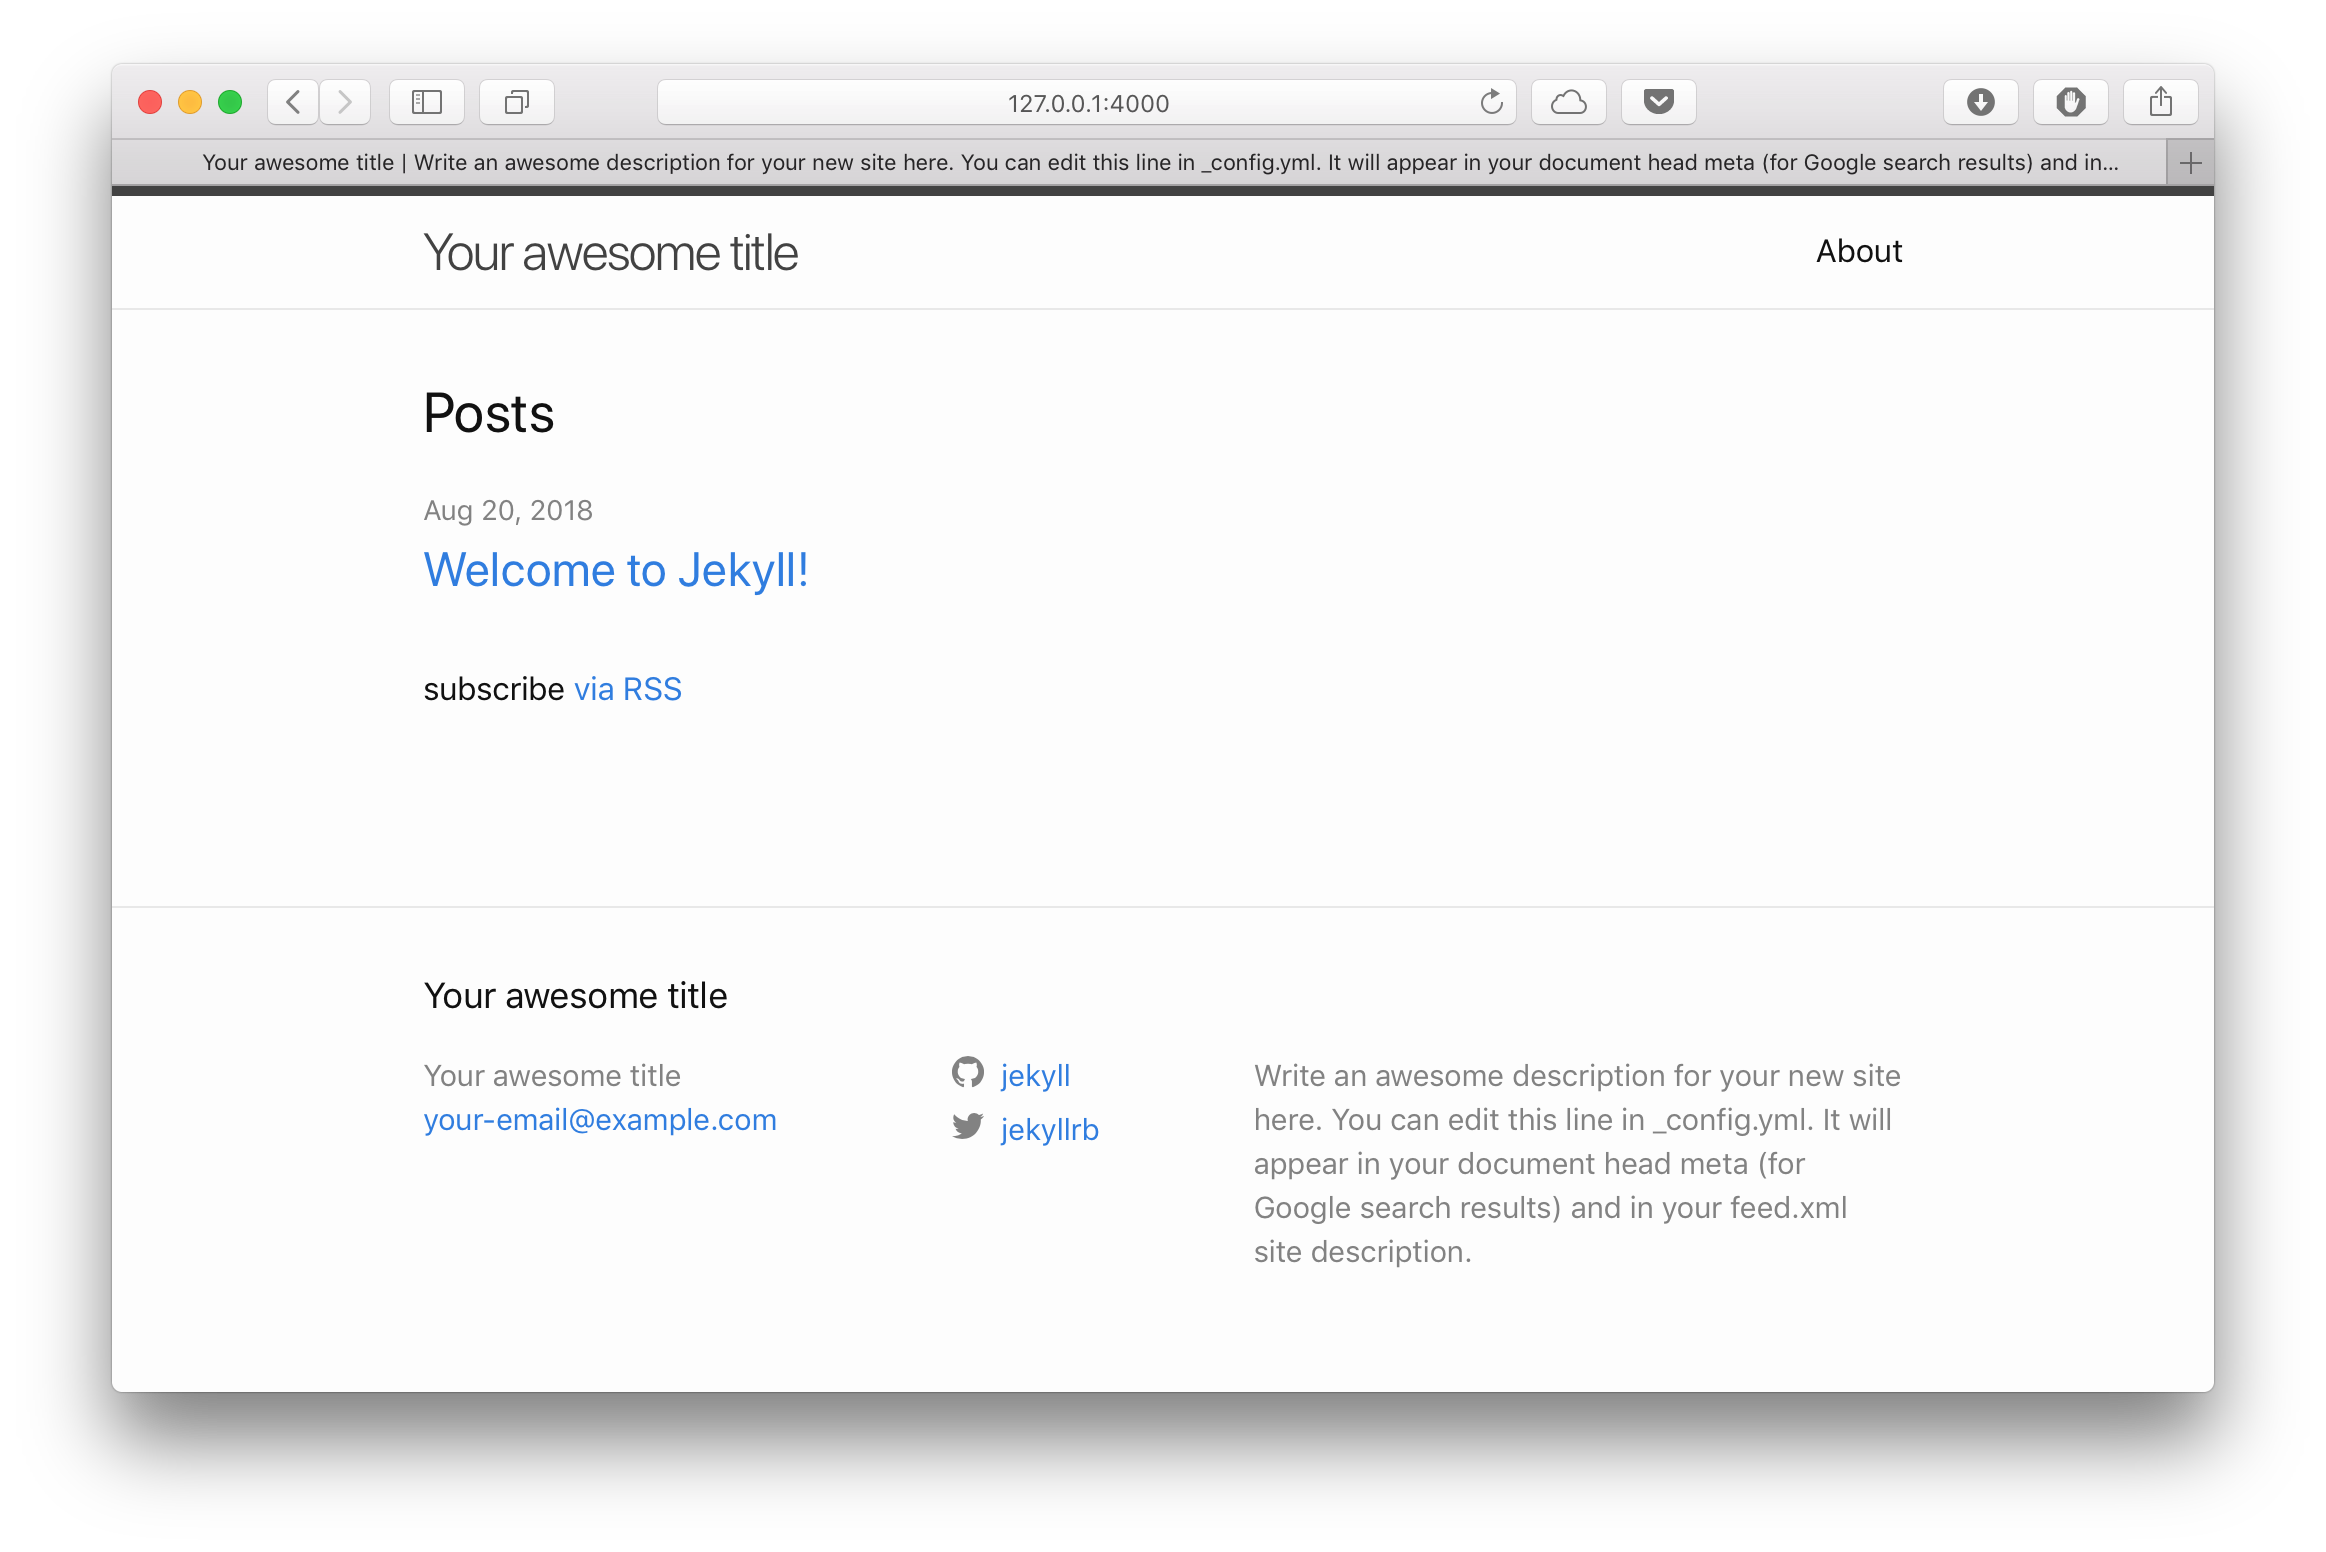
That’s it, you just created a Jekyll site and if all went ok, you should have your site running on http://127.0.0.1:4000.
In order to stop the server, you can press CTRL+C but you don’t need to so right now.
Add some content
Open textedit and create a new plaintext file with the following content:
---
layout: post
title:  "My first Post"
---

## My title
My content
and save it as _posts/2018-08-20-my-first-post.md. If your browser is still running, the site will have been automatically recompiled and by refreshing your browser you should see the new post.
Now if you wish to add some images to your posts or pages, you can create a directory (for example img) in your root Jekyll directory and load the image files to it. Then in order to embed the image you can use the following markdown syntax: .
Publishing your site
Once you have get your hold on editing your site, you can simply run on terminal the jekyll build command and copy the _site directory on to some hosting provider and your site will be live. Then when you make some modification, you will just have to sync again your directory to your hosting. Some hosting providers also allow you to update your file via a GIT repository, in which case the following subsection will come in handy.
Note that any files in the root directory of your Jekyll directory will be copied to _site so in order to skip file which should not be in there, you can add those to the exclude in the _config.yml file:
exclude:
  - Gemfile
  - Gemfile.lock
  - node_modules
  - vendor/bundle/
  - vendor/cache/
  - vendor/gems/
  - vendor/ruby/
Loading your site on Github Pages
In my particular case, I decided to try Github Pages. The instructions on the site are quite straightforward. You simply need to load your Jekyll site into the Github repository and Github will compile the site for you every time you commit changes to the master branch.
Since Github does not require the _site directory at all you should ignore those files from the repository to keep it nice and tidy. In addition there are some other files and directories which you should skip. You can simply create a .gitignore file in your repository with the following:
_site
.sass-cache
.jekyll-metadata
Gemfile.lock
With this quick guide on how to set up a Jekyll site you should have a nice place to start publishing. Jekyll has a lot more to offer if you want to further customise the site and there is a lot of information on the Internet about. You can also have a look at the main resources below.